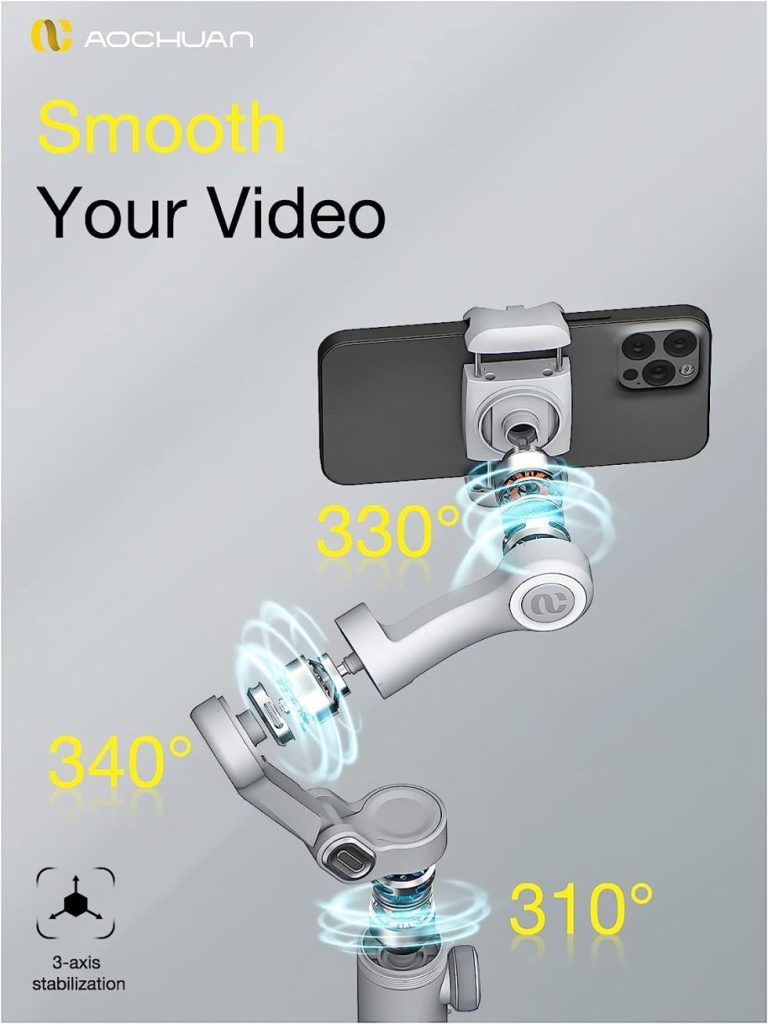
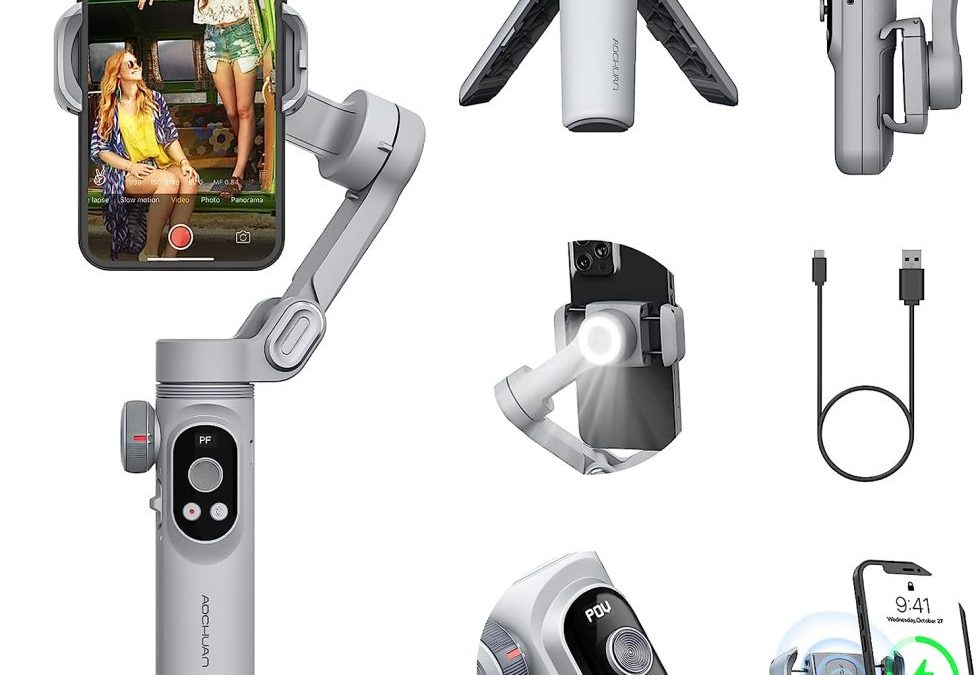
3-осевой карданный стабилизатор - необходимый инструмент для видеографов, фотографов и создателей контента, которые хотят снимать плавные и стабильные кадры. При съемке динамичных сцен или кинематографических кадров стабилизатор обеспечивает стабильность движений камеры, устраняя нежелательные тряски и дрожание. Однако для достижения максимальной эффективности 3-осевого карданного стабилизатора необходима правильная калибровка. В этом руководстве описано, как откалибровать 3-осевой карданный стабилизатор, чтобы обеспечить оптимальную производительность и точность.
Трехосевой карданный стабилизатор: Основы эксплуатации
Прежде чем приступить к процессу калибровки, необходимо понять, как работает 3-осевой карданный стабилизатор. В его основе, 3-осевые карданные стабилизаторы с помощью моторов и датчиков стабилизируют камеру по трем осям: тангаж (вверх и вниз), крен (влево и вправо) и рысканье (вращение из стороны в сторону). Такая стабилизация позволяет снимать плавные и стабильные кадры даже в движении.
Сайт карданный шарМоторы стабилизатора активно компенсируют движения оператора, обеспечивая ровное положение камеры и не нарушая его при дрожании рук или других нестабильных движениях. Однако, как и любое высокоточное оборудование, стабилизатор должен быть соответствующим образом откалиброван, чтобы работать наилучшим образом. Калибровка гарантирует, что двигатели и датчики правильно выровнены и чувствительны к любым изменениям в движении, обеспечивая бесперебойную стабильность. Калибровка 3-осевого карданного стабилизатора - относительно простой процесс, но требующий внимания к деталям. Она помогает точно настроить датчики и двигатели стабилизатора, компенсировать механические допуски и позволить ему работать в полную силу.

Зачем калибровать 3-осевой карданный стабилизатор?
Калибровка 3-осевого карданного стабилизатора очень важна по нескольким причинам. Со временем у карданных стабилизаторов может появиться небольшой механический дрейф или несоосность датчиков, что может вызвать такие проблемы, как несбалансированные кадры, вибрации или неравномерная стабильность. Правильно откалиброванный карданный стабилизатор гарантирует, что двигатели работают в полной гармонии, позволяя точно регулировать движение камеры.
Также поможет калибровка 3-осевого карданного стабилизатора:
Поддерживайте плавность хода съемок: Несоответствие компонентов карданного шарнира может вызвать дрожание или рывки в видео; калибровка помогает предотвратить это.
Увеличение срока службы батареи: Неправильно откалиброванный карданный шар заставляет моторы работать интенсивнее, быстрее разряжая аккумулятор. Правильная калибровка обеспечивает эффективную работу кардана.
Улучшенная точность: Калибровка позволяет точно настроить реакцию моторов, обеспечивая их более точную реакцию на ваши движения, что очень важно для качественной съемки.
Подготовка 3-осевого кардана к калибровке
Прежде чем начать процесс калибровки, необходимо выполнить несколько важных шагов, чтобы убедиться, что ваш 3-осевой карданный шар готов к калибровке. Подготовка - это ключ к точным результатам. Вот как начать:
Убедитесь, что батареи заряжены: Для калибровки необходимо, чтобы карданный шар был полностью заряжен. Если в нем недостаточно заряда, это может привести к неточным показаниям датчиков.
Проверьте крепление камеры: Убедитесь, что камера надежно закреплена на кардане и сбалансирована. Если камера смещена от центра или неправильно установлена, процесс калибровки не будет работать.
Размещение карданного шарнира: Поместите карданный шар на ровную, устойчивую поверхность. Убедитесь, что она ровная и имеет достаточно места для завершения процесса калибровки без помех.
Удалите все аксессуары: Если на вашей камере есть аксессуары, такие как внешний микрофон, свет или другие приспособления, лучше снять их на время калибровки. Эти аксессуары добавляют дополнительный вес и влияют на работу кардана.
Пошаговый процесс калибровки
Теперь, когда ваш 3-осевой карданный стабилизатор готов к калибровке, пришло время пройти пошаговый процесс.
Для начала включите карданный шар и убедитесь, что он находится в режиме по умолчанию, а все оси - в нейтральном положении. Тем временем вы можете получить доступ к настройкам калибровки через контроллер или приложение для смартфона. Найдите меню калибровки с надписью "Автокалибровка" или "Калибровка мотора". При калибровке оси вращения установите карданный шар на ровную поверхность и убедитесь, что камера расположена ровно. Система настроит ось крена так, чтобы карданный шарнир мог корректировать любой нежелательный наклон. Затем откалибруйте ось тангажа, которая управляет движением камеры вверх и вниз. Убедитесь, что камера выровнена правильно, и следуйте инструкциям на контроллере или в приложении, чтобы завершить процесс.
Наконец, откалибруйте ось рысканья, которая управляет вращательным движением камеры. Ось рысканья помогает кардану оставаться ровным и обеспечивает плавное горизонтальное движение. После калибровки выполните тестовый запуск, чтобы проверить, работает ли карданный шарнир так, как ожидалось. Если стабилизатор работает неправильно, возможно, вам потребуется повторная калибровка или настройка определенных параметров.

Советы по расширенной калибровке для точности и аккуратности
Хотя базовые шаги по калибровке помогут вашему 3-осевому гим-стабилизатору работать хорошо, некоторые продвинутые методы могут вывести процесс на новый уровень, обеспечивая большую точность и более плавные кадры.
Перед началом калибровки вручную сбалансируйте карданный шар, отрегулировав кронштейны и монтажную плату так, чтобы камера была максимально приближена к идеальной балансировке. Это позволит снизить нагрузку на двигатели и улучшить общую производительность. Некоторые высококлассные 3-осевые гимбалы также позволяют настраивать силу и отзывчивость моторов. Тонкая настройка этих параметров поможет улучшить стабильность, особенно при использовании более тяжелых камер или объективов. Также необходимо следить за тем, чтобы прошивка вашего кардана была актуальной, чтобы улучшить процесс калибровки, исправить ошибки или добавить новые функции. Многие современные карданы поставляются с приложением для смартфона, которое предоставляет дополнительные возможности калибровки. Приложение может обеспечить более точную калибровку и более тонкую настройку.
Сделайте стрельбу более плавной
Калибровка 3-осевого карданного стабилизатора - простая, но крайне важная задача для обеспечения его оптимальной работы. Следуя шагам, описанным в этом руководстве, вы сможете максимально повысить эффективность работы вашего кардана, избежать распространенных проблем и каждый раз снимать плавные кадры профессионального уровня.

