완벽한 셀카를 찍으려면 올바른 각도를 찾는 것뿐만 아니라 셀카 조명을 사용하는 방법도 숙지해야 합니다. 적절한 밝기 조절은 밝은 조명의 인물 사진과 흐릿하고 과다 노출된 사진의 차이를 만들어냅니다. 이 가이드에서는 셀카 필 라이트 밝기 조절의 7가지 주요 측면을 통해 매번 균형 잡힌 전문적인 셀카를 촬영할 수 있도록 도와드립니다. 이러한 전략을 통해 셀카 조명이 이목구비를 압도하지 않으면서도 이목구비를 강조할 수 있습니다.
균형 잡힌 노출을 위해 셀카 필 라이트의 강도 조절하기
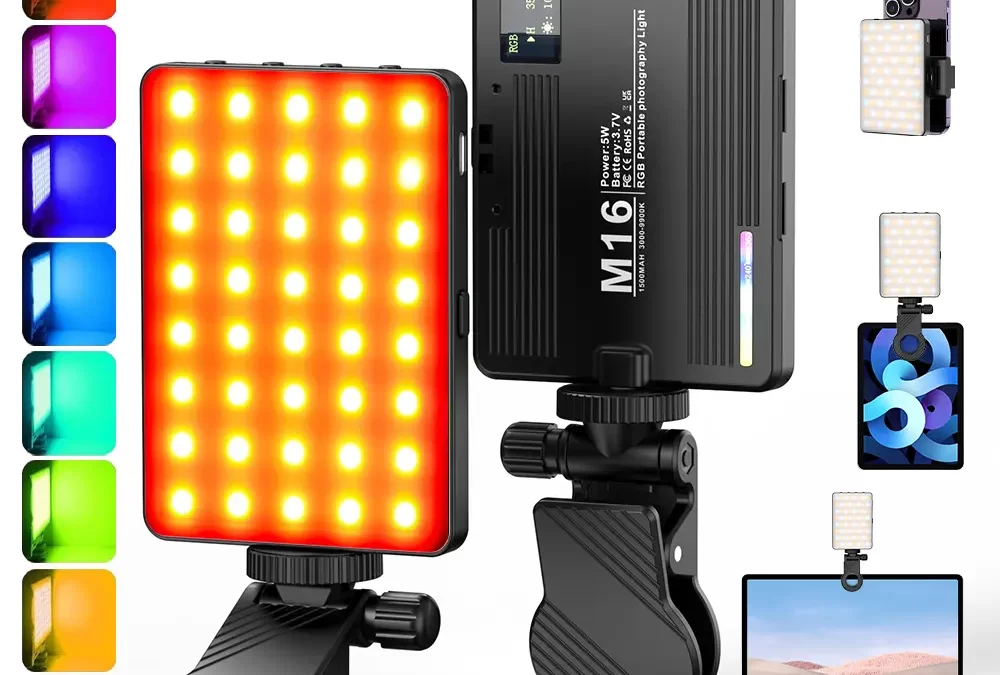
과다 노출을 피하기 위한 첫 번째 단계는 셀카 필 라이트의 강도를 주변 환경에 맞게 조절하는 방법을 배우는 것입니다. 대부분의 최신 LED 조명 링과 패널은 물리적 노브 또는 휴대폰 앱의 슬라이더를 통해 1%에서 100% 사이에서 밝기를 미세 조정할 수 있는 단계별 디밍 제어 기능을 제공합니다. 팔 길이 거리에서 클로즈업할 때는 이마와 뺨이 지나치게 강조되지 않도록 광량을 20%~30% 정도로 낮추세요. 조명이 어두운 실내나 야간에는 강도를 40%~50%로 높여야 할 수도 있지만, 흰색이 과도하게 노출되지 않도록 화면에서 모니터링하세요.
셀카 채우기 라이트 색온도 및 노출 조정
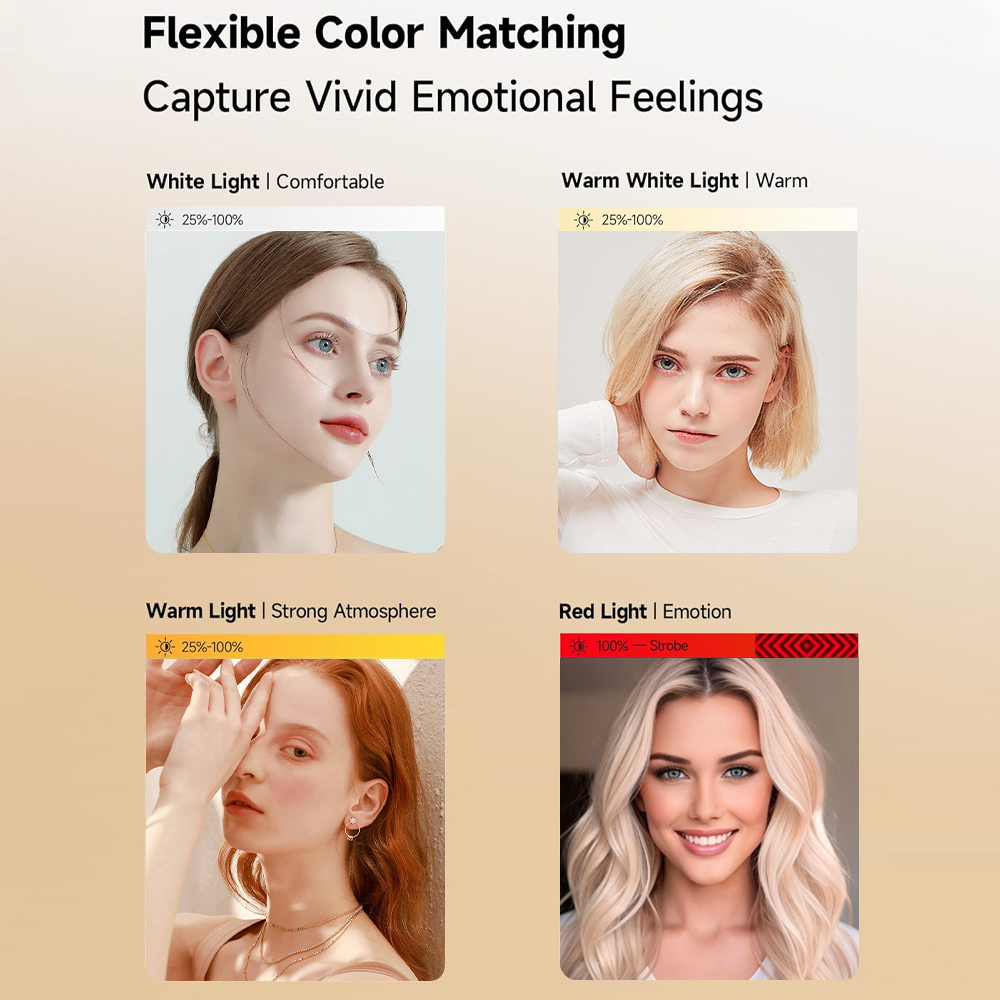
밝기도 중요하지만, 셀카 필 라이트의 색온도를 조절하는 것도 체감 노출에 영향을 줄 수 있습니다. 차가운 색온도 설정은 더 밝고 객관적으로 보이지만 과다 노출을 강조할 수 있으며, 따뜻한 색온도 설정은 더 부드럽게 느껴지고 사소한 핫스팟을 가릴 수 있습니다. 조명 밝기 조절과 따뜻한 색온도의 균형을 맞추면 자연스러운 피부 톤을 유지하고 거친 반사광을 줄일 수 있습니다. 디바이스에서 색상과 밝기의 독립적인 조정을 지원하는 경우 먼저 색온도를 설정한 다음 그에 따라 밝기를 조정해 보세요. 이 2단계 과정을 거치면 셀카를 찍을 때 이마, 콧등, 턱 등의 부위에 강한 백색광이 나타나는 것을 방지하고 보다 균일한 노출을 얻을 수 있습니다.

핫스팟을 방지하는 셀카 조명의 위치와 거리
의 거리는 셀카 조명 는 노출 균일도에 큰 영향을 미칠 수 있습니다. 거리가 너무 가까우면 지성 피부나 기름기가 많은 피부에는 강한 광점과 눈부심이 생길 수 있습니다. 반대로 거리가 너무 멀면 그림자의 조명이 어두워져 밝기를 높여야 할 수 있습니다. 최적의 거리는 8~12인치로, 조명이 눈높이보다 약간 위에 있고 아래쪽으로 10~15도 정도 기울어져 있어야 합니다. 이 설정은 얼굴 전체에 빛을 고르게 분산시켜 거친 반사광 없이 눈 밑과 턱의 그림자를 부드럽게 만들어 줍니다. 조명을 서서히 움직이며 실시간으로 효과를 확인하다 보면 셀카 조명이 피사체를 과다 노출하지 않고 고르고 부드러운 조명을 제공하는 스위트 스팟을 찾을 수 있습니다.
스마트폰 카메라로 설정하기
현대적인 셀카 채우기 조명 는 이미지를 캡처하는 카메라에 따라 다릅니다. 대부분의 스마트폰은 노출을 고정하고, ISO를 조정하고, 셔터 속도를 설정할 수 있는 수동 또는 '프로' 모드를 제공합니다. 이러한 설정을 조명 밝기 조절과 함께 사용하면 보다 균형 잡힌 효과를 얻을 수 있습니다. 예를 들어 ISO를 100-200으로 설정하면 디지털 노이즈를 방지하고, 1/60-1/100초 정도의 셔터 속도를 선택하면 모션 블러를 방지할 수 있습니다. 과다 노출된 부분이 발견되면 먼저 노출 보정을 0.5~1스톱 줄인 다음 셀카 필 라이트 레벨을 낮추세요. 이러한 카메라와 조명 조정의 조합은 두 요소를 조화롭게 작동시켜 밝은 하이라이트는 억제하고 피부 톤 변화의 디테일은 보존합니다.
디퓨저로 셀카 광량을 부드럽게 만들기
적당한 밝기에서도 직접적인 LED 조명은 카메라의 과다 노출을 유발하는 거친 그림자와 반사광 하이라이트를 만들 수 있습니다. 이를 방지하려면 반투명 실리콘 링, 스냅온 소프트박스 또는 디퓨저 패널과 같은 셀카 필 라이트 디퓨저를 사용하여 빛을 더 부드럽고 고른 빛으로 확산시키세요. 디퓨전은 광자를 더 넓은 각도로 확산시켜 피크 강도를 낮추므로 눈부신 핫스팟을 만들지 않고 전체적인 밝기를 높일 수 있습니다. 디퓨저 액세서리를 선택할 때는 색 정확도를 유지하면서 출력을 1~2스톱(20~50% 밝기 손실) 낮추는 옵션을 선택하세요. 올바른 디퓨저를 사용하면 셀카 조명의 밝기 조절 범위가 더 넓어져 까다로운 조명 조건에서도 더 부드럽고 자연스러운 셀카를 촬영할 수 있습니다.
완벽한 셀카를 위한 조명 밝기 마스터하기
과다 노출된 셀카를 방지하려면 셀카 조명 밝기 조절, 색온도 보정, 전략적 배치, 카메라 설정 조정, 부드러운 조명 액세서리, 주변 반사판 등을 결합한 종합적인 접근 방식이 필요합니다. 또한 1%~100%의 LED 조광 범위에서 세밀하게 조정하면 노출이 적절하고 만족스러운 사진을 일관되게 촬영할 수 있습니다.