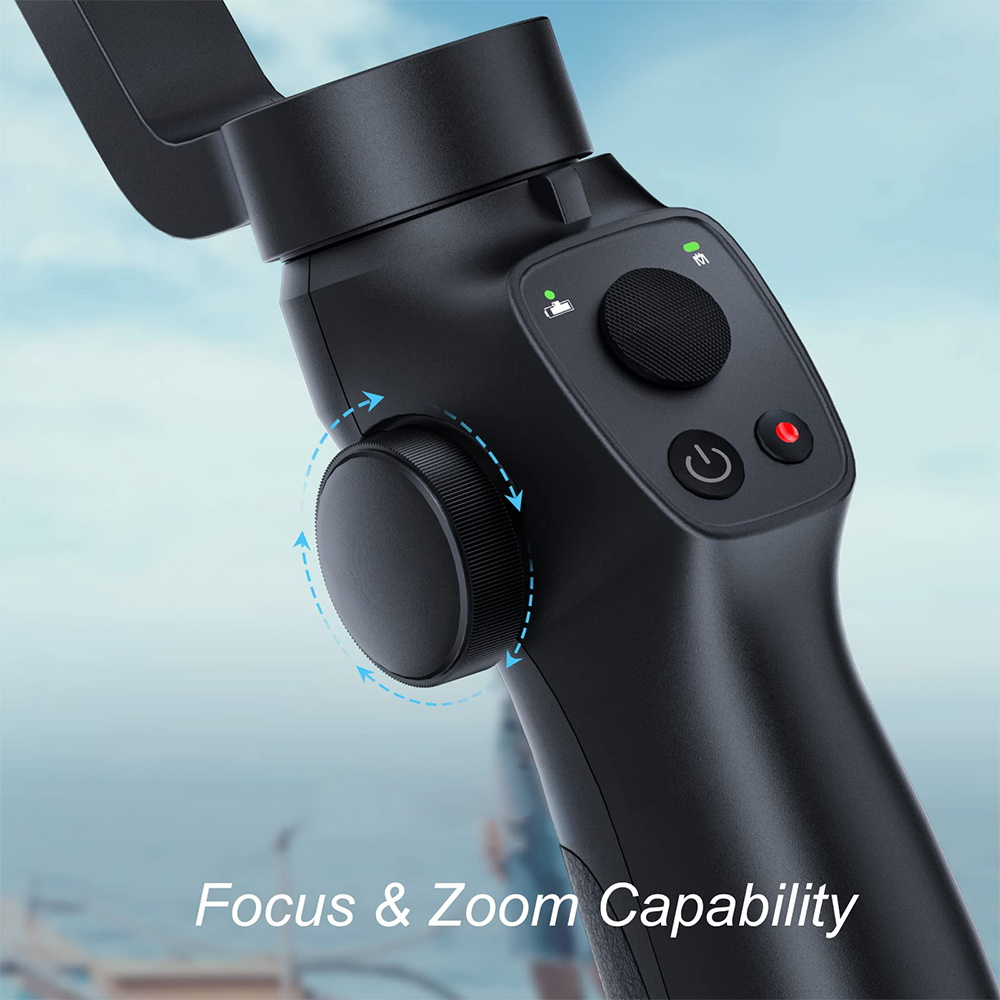
Every professional videographer knows that a smooth, quiet gimbal is essential for capturing perfect footage. The gear system within the gimbal works tirelessly to counteract unwanted movement, but like any mechanical part, it wears out over time. Modern 可動式ジンバル typically use precision-engineered plastic or metal gears that mesh with each other to create smooth motion. These gears require proper lubrication and occasional replacement to maintain optimal performance. When working properly, you shouldn’t hear any faint humming sounds – any rattles or squeaks indicate it’s time to check your gear system.

Common Signs Your Mobile Gimbal Gears Need Attention

Your mobile gimbal will give you clear auditory and physical cues when its gears need maintenance. The most obvious symptom is the appearance of new, unusual noises during operation – metallic grinding, high-pitched squeaks or clicks that weren’t there when the gimbal was new. You may also notice increased vibration in the handle or noticeable jitter in your footage. Some users report that their mobile gimbals develop “dead zones” where the motor response feels inconsistent. Performance issues often first appear during slow, precise movements where the gears are under the most tension. If your gimbal only starts making noises when carrying a heavier camera setup, this is also a sign that gear wear needs to be addressed.

The Effect of Worn Gears on Mobile Stabilizer Performance

Damaged gears don’t just create annoying sounds — they can seriously affect the functionality of your mobile gimbal. Worn gear teeth can cause micro-stutters in your footage, which can be nearly impossible to correct in post-production. You may notice your gimbal overcorrecting or failing to respond to subtle movements, forcing you to work harder to get smooth results. The motor must work overtime to compensate for the damaged gears, which shortens battery life and can burn out the motor. A mobile gimbal with worn gears will also lose its precise balancing abilities, making initial setup more time-consuming. These performance issues can worsen over time, so addressing gear issues early can protect your equipment and your creative output.

mobile stabilizer 10

Preventive Maintenance for Mobile Stabilizer Gears

Regular maintenance can greatly extend the life of your mobile gimbal’s gear system. First, clean the gear surfaces monthly with a soft, dry brush to remove dust and debris that accelerate wear. Apply the manufacturer’s recommended lubricant every 3-6 months, using only a small amount to avoid attracting more dust. Always store your mobile gimbal in its case to protect the gear from environmental damage. When transporting, loosen the tension lock to relieve pressure on the gear teeth. If you shoot frequently, rotate between multiple ジンバル to spread out the wear. These simple habits can postpone gear replacements for months or even years while maintaining silky-smooth, stable performance.

When to Repair vs. Replace Gear

Not all gear issues require a full replacement – sometimes your mobile gimbal just needs a professional repair. Minor squeaks can often be fixed with proper cleaning and lubrication. If only certain movements make the noise, it may be necessary to adjust specific gear parts rather than replace them. However, if you notice metal shavings in the housing, noticeable tooth damage, or persistent performance issues after maintenance, it may be time to replace it. Consider the age of your mobile gimbal – if it’s about to expire and is showing multiple symptoms, investing in new gear may be more cost-effective than repeat repairs. High-end models often offer replacement gear kits, while cheaper gimbals may require replacing the entire unit.

mobile stabilizer 9

Step-by-step guide to replacing gears

Replacing the gears in a mobile stabilizer requires patience and the proper tools. Start by consulting the manufacturer’s documentation for specific disassembly instructions. You’ll typically need a precision screwdriver, a pry bar, and possibly a Torx drill bit. Work on a clean, well-lit surface and take photos at each step to ensure proper reassembly. After removing the housing, carefully remove the old gears, noting their orientation. Clean all components thoroughly before installing the new gears. Apply a thin layer of manufacturer-approved lubricant to the new gear teeth. When reassembling the mobile stabilizer, make sure all gears mesh smoothly without forcing alignment.

Maintaining Your Gimbal’s Performance

Your mobile gimbal’s gear system is the unsung hero behind every smooth tracking shot and cinematic presentation. By learning to recognize early warning signs, performing regular maintenance, and knowing when to replace components, you can protect your investment and your creative output. Modern mobile gimbals is designed with serviceability in mind, and many manufacturers offer detailed maintenance guides and replacement parts. Don’t wait until gear wear affects your footage – proactive maintenance will keep your gimbal running quietly and efficiently.