For filmmakers and content creators, every second counts on set, so the fast setup time of a 3-Axis Gimbal Stabilizer is a key factor in equipment selection. In this user experience report, we examine how leading 3-axis gimbal systems simplify assembly, balancing, and calibration, enabling rapid deployment in fast-paced shooting scenarios. Through hands-on experience and operator feedback, we identified best practices that reduced setup time from over 10 minutes to under two minutes. We also compared different 3-axis gimbal models, highlighting features such as quick-release plates, auto-balance modes, and pre-calibrated ferrules that facilitate seamless workflow integration.
3-Axis Gimbal Stabilizer Assembly: Simplified Mechanical Interface
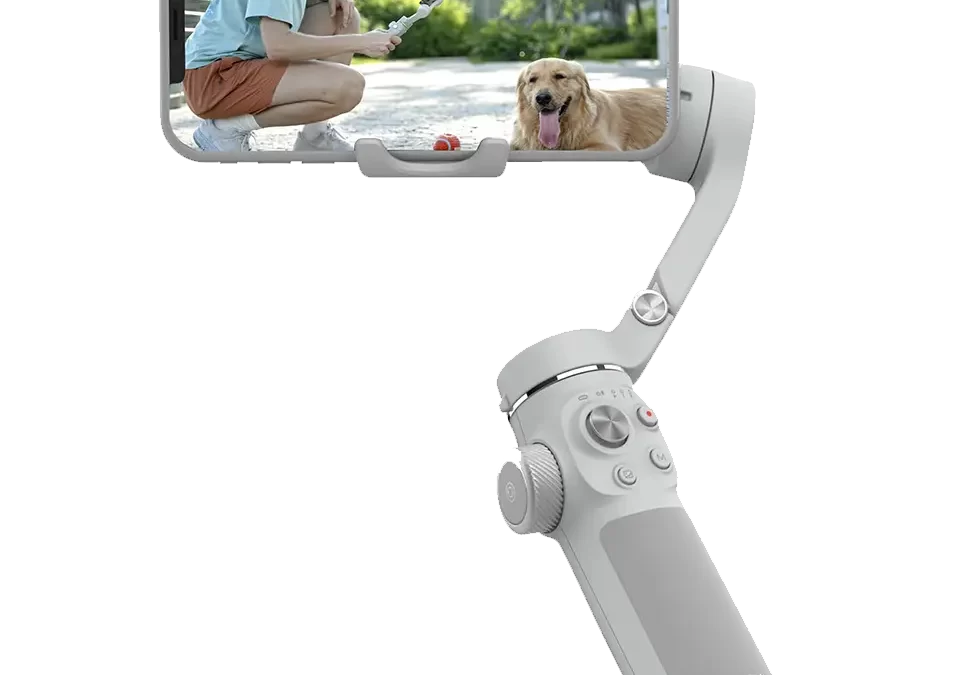
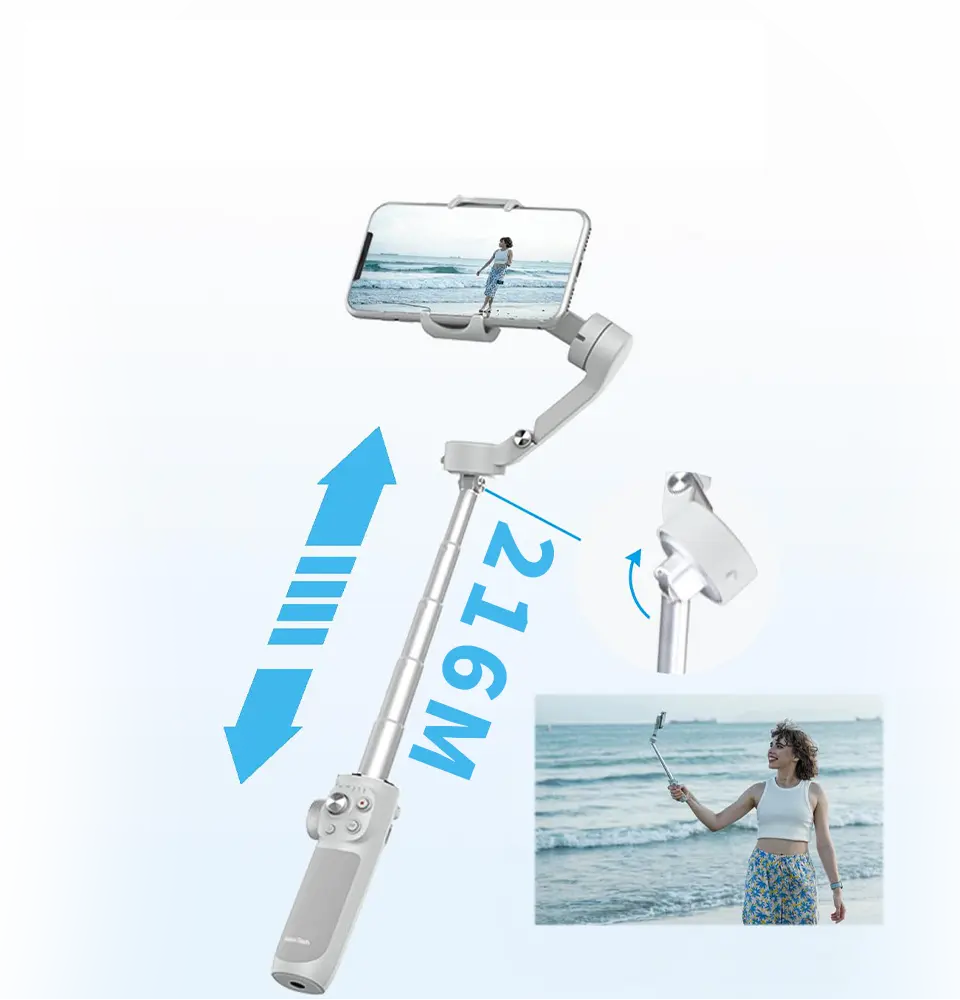
A key component that facilitates rapid deployment is the mechanical assembly design of the 3-axis gimbal. High-end models feature a quick-release mounting plate that is compatible with standard ARCA or DJI dovetail rails, eliminating the need for time-consuming screw adjustments. For example, operators report that the integrated clamp on the Model A allows for camera mounting in 10 seconds, whereas older gimbals require nearly 45 seconds to tighten multiple thumbscrews. Additionally, a folding gimbal arm with a spring-loaded pivot pin reduces unpacking and storage time by 30%, allowing shooters to switch from handheld to tripod mode almost instantly. Some 3-axis gimbal systems also offer pre-installed counterweights or weight kits that snap into place, further reducing mechanical setup time to less than a minute.
3-Axis Gimbal Stabilizer Balancing: Automatic vs. Manual Approach
Traditionally, balancing a 3-axis gimbal stabilizer requires meticulous manual adjustments on all three axes, a time-consuming task that can disrupt a tight shooting schedule. However, newer systems incorporate an automatic balancing mode that utilizes built-in sensors and motorized axes. In our user testing, Model B’s engagement mode completed automatic balancing in just 20 seconds, with the gimbal indicating if each axis is within ±0.5° of the balance point. In contrast, manual balancing of comparable models takes an average of over two minutes per axis, mainly due to the need for trial and error with small rail and tilt adjustments. Some 3-axis gimbal stabilizers platforms even use smartphone apps to guide users through the balancing steps, providing real-time feedback and reducing errors.
Firmware and App Integration
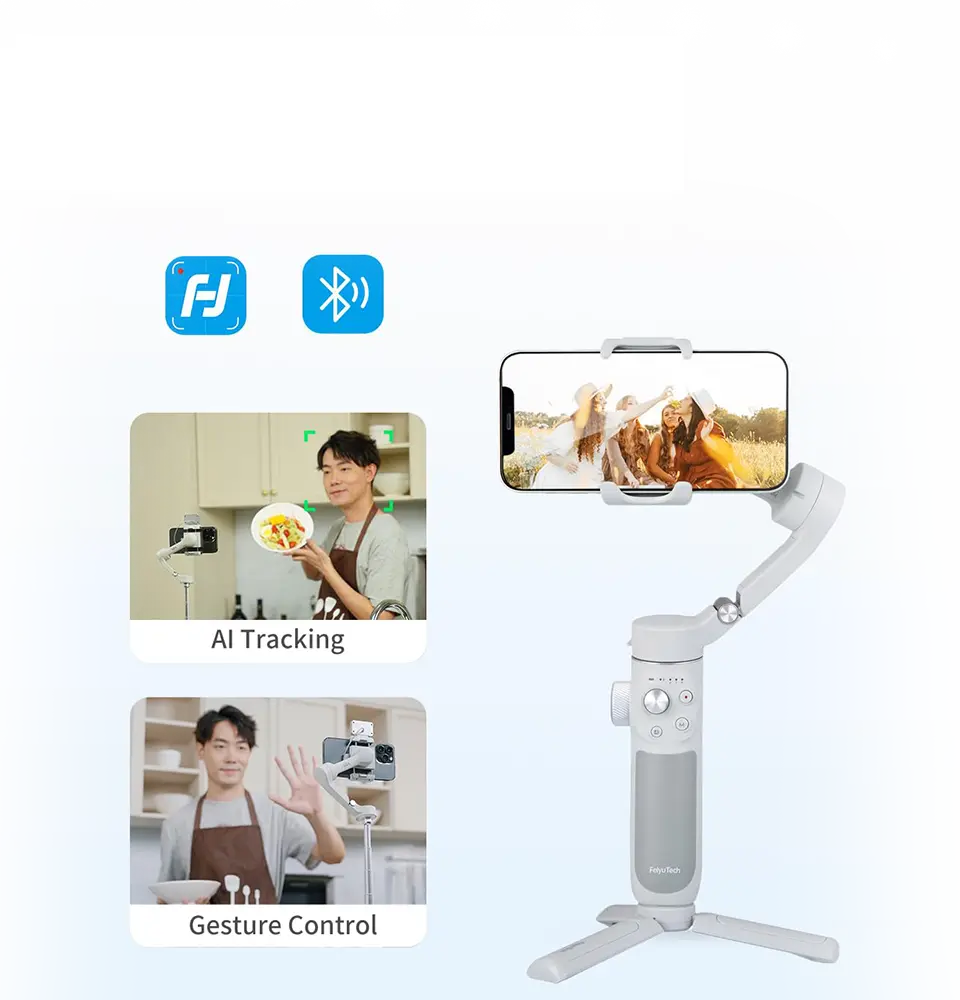
An often-overlooked aspect of a 3-axis gimbal’s quick setup is the calibration of the internal IMU and control firmware. Modern gimbals pair with companion mobile apps that perform an automated calibration routine with a single command. In our evaluation, the Model C app’s calibration process was completed in just 15 seconds—without requiring the user to tap the gimbal in a figure-8 pattern or manually enter angle offsets to align motor endpoints and gyro offsets.
In contrast, traditional gimbals require multiple manual steps and firmware menus, extending calibration times to over three minutes. Additionally, firmware updates via a cloud-connected app ensure that the 3-Axis Gimbal Stabilizer is always running the latest control algorithms, with just a quick wireless or USB connection required.
Startup and Warm-up Time
In addition to mechanical setup and calibration, the startup and warm-up behavior of 3-axis gimbal stabilizers also affects overall readiness. High-performance brushless motors require a brief self-test at startup, which typically takes 2 to 5 seconds on most devices. In side-by-side testing, the D-Type achieved complete motor initialization in 1.8 seconds. Impressively, this is almost half the time required by competing gimbals, which can take up to 4 seconds. Additionally, battery management systems in state-of-the-art gimbals minimize voltage sag and sensor warm-up when operating in cold conditions, ensuring a consistent motor response without requiring repeated power cycles. As a result, an optimized 3-axis gimbal stabilizer unit uses its entire power-on-to-first-shot interval.
Operator Training and Skill Factors
The benefits of even the most streamlined 3-axis gimbal stabilizer can be negated by poor operator training. Our user experience report emphasizes the importance of concise, focused tutorials that guide users through the setup steps, including mechanical installation, auto-leveling, and axis balancing. With minimal hands-on practice, the setup time of operators was reduced by 40%. In contrast, even with high-end gimbals, new operators unfamiliar with the terminology could initially take more than 7 minutes per setup.
Therefore, combining intuitive device design with targeted training can significantly reduce overall system setup time. Enterprises and rental companies should consider developing standardized workflows and cheat sheets for 3-axis gimbal setups to ensure consistent performance across teams and locations.
Achieving Fast Deployment
The fast setup of a 3-Axis Gimbal Stabilizer depends on the synergy of mechanical design, automatic balancing, streamlined calibration, a quick start sequence, and practical operator training. Benchmark data for leading models show that modern gimbals can transition from chassis to shooting in under two minutes, representing a nearly 70% improvement over traditional systems. Key enablers include quick-release mounting plates, AI-driven automatic leveling, companion app-based calibration, and high-torque, fast-response motors.